Ella is four!
Those parties were all about the kids, and they were awesome.
I wanted that for Ella's 4th birthday, along with a few dinosaur themed treats because that's what our girl is into at the moment. She has been talking about her cake and party for months, and after roaming through the options (shark and volcano cakes were the big contenders) she settled on a dinosaur cake. And then she asked it to be pink, since she "only likes pink and yellow". At that particular moment, anyway.
I saved some speckled eggs from Easter thinking they would make great "dino nest" cupcakes. Ella looooves cupcakes and asks to make them all the time, so this was very exciting for her.
Green-blue buttercream, some coloured sugar (bought) and a few eggs were all we needed. The cases are silicone and so much easier to get the cupcake from than paper cases. (The larger eggs are M&M's brand, the smaller ones were something else I've forgotten!).
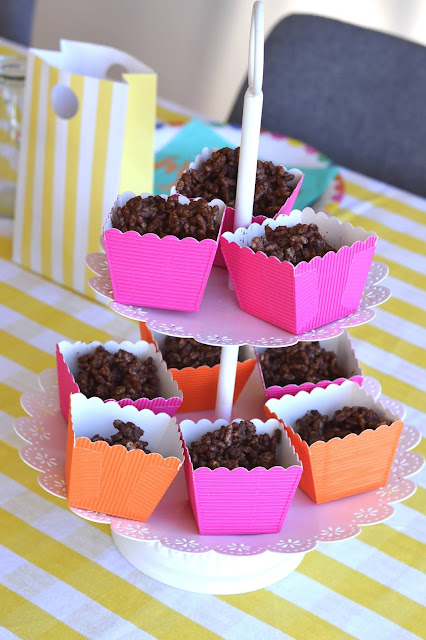
Chocolate crackles from the Chelsea Winter recipe were so easy to whip up. I melted a block of Cadbury Energy chocolate (200g) with 25g butter, and stirred 3 cups of rice bubbles into it before diving up the mixture and leaving to set. Done!
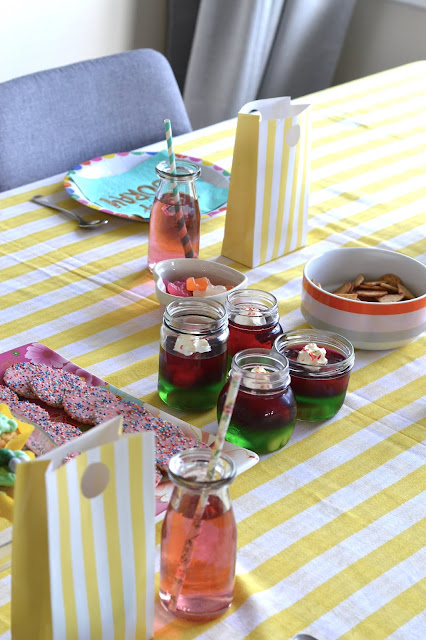
The jellies were my modern-day take on the jelly-oranges we used to have as kids. For this I set 2 colours of jelly into the jar, leaving about 2 hours between each layer, and popping in one Natural Confectionary Company gummy dinosaur to each layer. We called it dinosaur slime. I think using all green or all blue jelly instead of the 2 different layers would have been great too.
It's somehow become a tradition for me to draw a new chalkboard sign for each big event. This one was simple but fun:
I made up my own dinosaur cake pattern as there was nothing I could find that was quite what we wanted. I figured out how to make it from just ONE round cake tin - so it's pretty simple. For a basic guide to how I made this shape from just one round cake tin, see the bottom of this post.
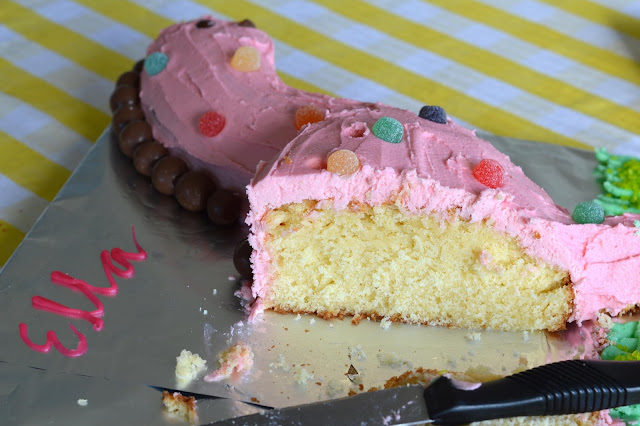
The icing is just plain pink buttercream, and the cake base is from the Chelsea Sugar website called "birthday cake". It was simple to make and perfect for a birthday cake. Not dry, but firm enough for easy carving. I love classic vanilla birthday cake with buttercream.
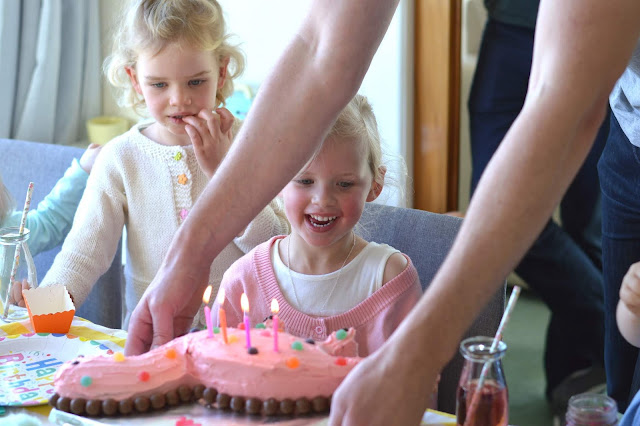
I didn't let her see it until we sang happy birthday, and she loved it.
Yum!
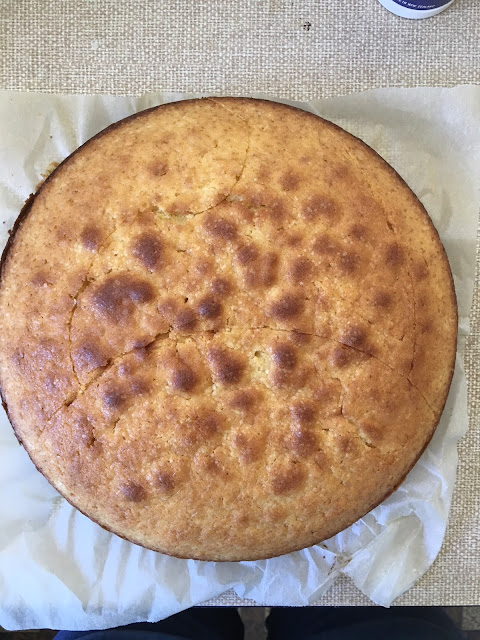
To make the diplodocus / longneck / brachiosaurus or whatever you want to translate this dinosaur as, you need a large round cake tin (mine is 26cm) and a vanilla cake recipe that's large enough. I used this recipe, pouring it all into the one tin (instead of 2 like in the recipe) and it fit perfectly.
If you look closely on the cake below, you can see the where I've scored it with my knife BEFORE cutting. There is an oval body at the bottom of the circle, a neck and head piece coming up the left hand side, and a tail (hard to see) curving up the right hand side of the circle. Got it?
Once cut, you move the neck piece to the right side, and the tail piece to the left side. you WILL need to cut the base of the neck and tail on a different angle to get it to sit right, and fit on your board. (This is just a chopping board covered in foil.)
I haven't included the legs in the image above, but from the part of the cake that's left you can cut two little legs.
Use a sharp, long knife to carve any bits that you want to curve. In my case, one side of the head/neck needed to be carved to be lower.
Ice with a thinner coat first to coat to seal in the crumbs. Then go over again with thicker icing. This looks flesh toned in the evening lighting, but it's a bubblegum pink.
I put Maltesers all along it's back to make "spikes" and use mini M&M's for the eyes, and a broken malteser for the mouth. The spots are Jellytots, and the grass uses the leftover icing from the cupcakes, with some green coloured sugar crystals on top for good measure. I also put a few mini M&M's on as toenails. The name Ella was easy to do straight onto the foil with an icing pen from the supermarket.
I wanted the head/face to be large and cartoonish, but you could go for a more realistic look with a much smaller head and thinner neck.
I hope this inspires someone to make a simple DIY dino party for a special kid! My daughter loved it.








No comments:
Post a Comment
Thanks for your comment. You are awesome!